


 www.customwheeloffset.com
 Opening: Why Build Your Own Shed? Building your own shed can be a rewarding project. It allows for customization to fit your specific needs and space, and often saves money compared to purchasing a pre-built shed. This guide will walk you through the process of building a basic 8x10 shed.
Step 1: Planning and Permits Before you start, it's crucial to plan and check local regulations. Research local building codes: Contact your city or county's building department to determine if you need a permit and what requirements apply. This includes setbacks, size limitations, and foundation requirements. Create a design: Sketch out your shed plan, including dimensions, door and window placements, and roof style. Online resources and shed plan websites offer ideas and templates. Gather Materials: Create a comprehensive list of materials needed, including lumber (pressure-treated for the base), plywood, roofing materials, siding, nails, screws, and hardware for the door and windows.
Step 2: Preparing the Foundation A solid foundation is essential for a stable and long-lasting shed. This guide uses a gravel foundation, which is a simpler option for smaller sheds. Clear the area: Remove all vegetation, rocks, and debris from the shed location. Level the ground: Use a shovel and level to create a level surface. Build a frame: Construct a rectangular frame using pressure-treated lumber. This frame should be the exact dimensions of your shed (e.g., 8x10 feet). Fill with gravel: Fill the frame with several inches of compacted gravel, ensuring it's level. This provides drainage and prevents the wood from rotting.
Step 3: Building the Floor Now it's time to build the floor frame and attach the floor sheathing. Build the floor frame: Using pressure-treated lumber, construct a frame with joists spaced 16 inches on center. This provides adequate support for the floor. Attach the frame to the foundation: Secure the floor frame to the gravel base by using concrete blocks and ensuring that the frame is level. Install floor sheathing: Attach plywood sheets to the floor frame using nails or screws. Ensure the sheathing is flush with the frame edges.
Step 4: Framing the Walls Framing the walls involves building the wall structures and raising them onto the floor. Build the wall frames: Construct each wall frame using 2x4 lumber. Ensure studs are spaced 16 inches on center. Include framing for the door and windows. Raise the walls: Carefully lift each wall frame into place, ensuring it's plumb and square. Use temporary bracing to hold the walls in position. Connect the walls: Secure the walls together using nails or screws. Ensure the corners are square and the walls are securely joined.
Step 5: Installing the Roof The roof provides protection from the elements. A simple gable roof is a good choice for a beginner. Build the roof rafters: Construct the roof rafters according to your design. Consider the pitch of the roof when calculating rafter angles. Attach the rafters: Secure the rafters to the top of the wall frames, ensuring they are evenly spaced and properly aligned. Install roof sheathing: Attach plywood sheets to the rafters, creating a solid base for the roofing material. Apply roofing material: Install roofing felt or underlayment followed by your chosen roofing material (shingles, metal roofing, etc.).
Step 6: Adding Siding and Trim Siding protects the walls from the elements and gives the shed its finished look. Install siding: Attach siding to the wall frames using nails or screws. Overlap the siding panels according to the manufacturer's instructions. Common siding options include wood, vinyl, and metal. Add trim: Install trim around the doors, windows, and corners to provide a finished look and protect the edges of the siding.
Step 7: Installing the Door and Windows Now install the door and windows you planned for. Frame the openings: ensure the openings for the door and windows are framed correctly. Install windows: install the windows in the frame and be sure to seal around it for weather proofing. Install the door: hang the door, ensure it swings correctly and add hardware.
Conclusion: Finishing Touches and Enjoying Your Shed With the main structure complete, it's time for the finishing touches. Add finishing touches: Install any shelves, workbenches, or other features you desire inside the shed. Paint or stain: Apply paint or stain to the siding and trim to protect the wood and enhance the shed's appearance. Clean up: Remove all debris from the construction site and enjoy your new DIY shed!
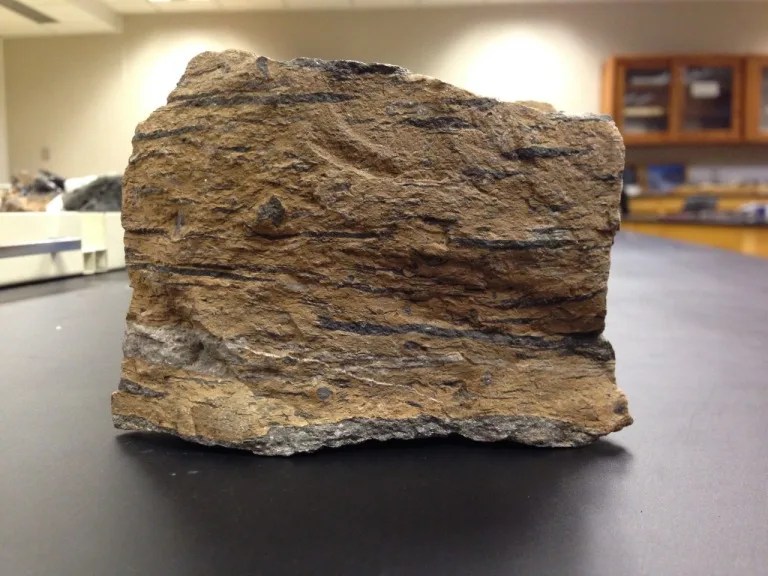
Tuff Rock
 geologyscience.com
 Tuff T11 20x9 +10mm
www.customwheeloffset.com Tuff Rock types, Properties, Formation, Uses

0 komentar:
Posting Komentar